
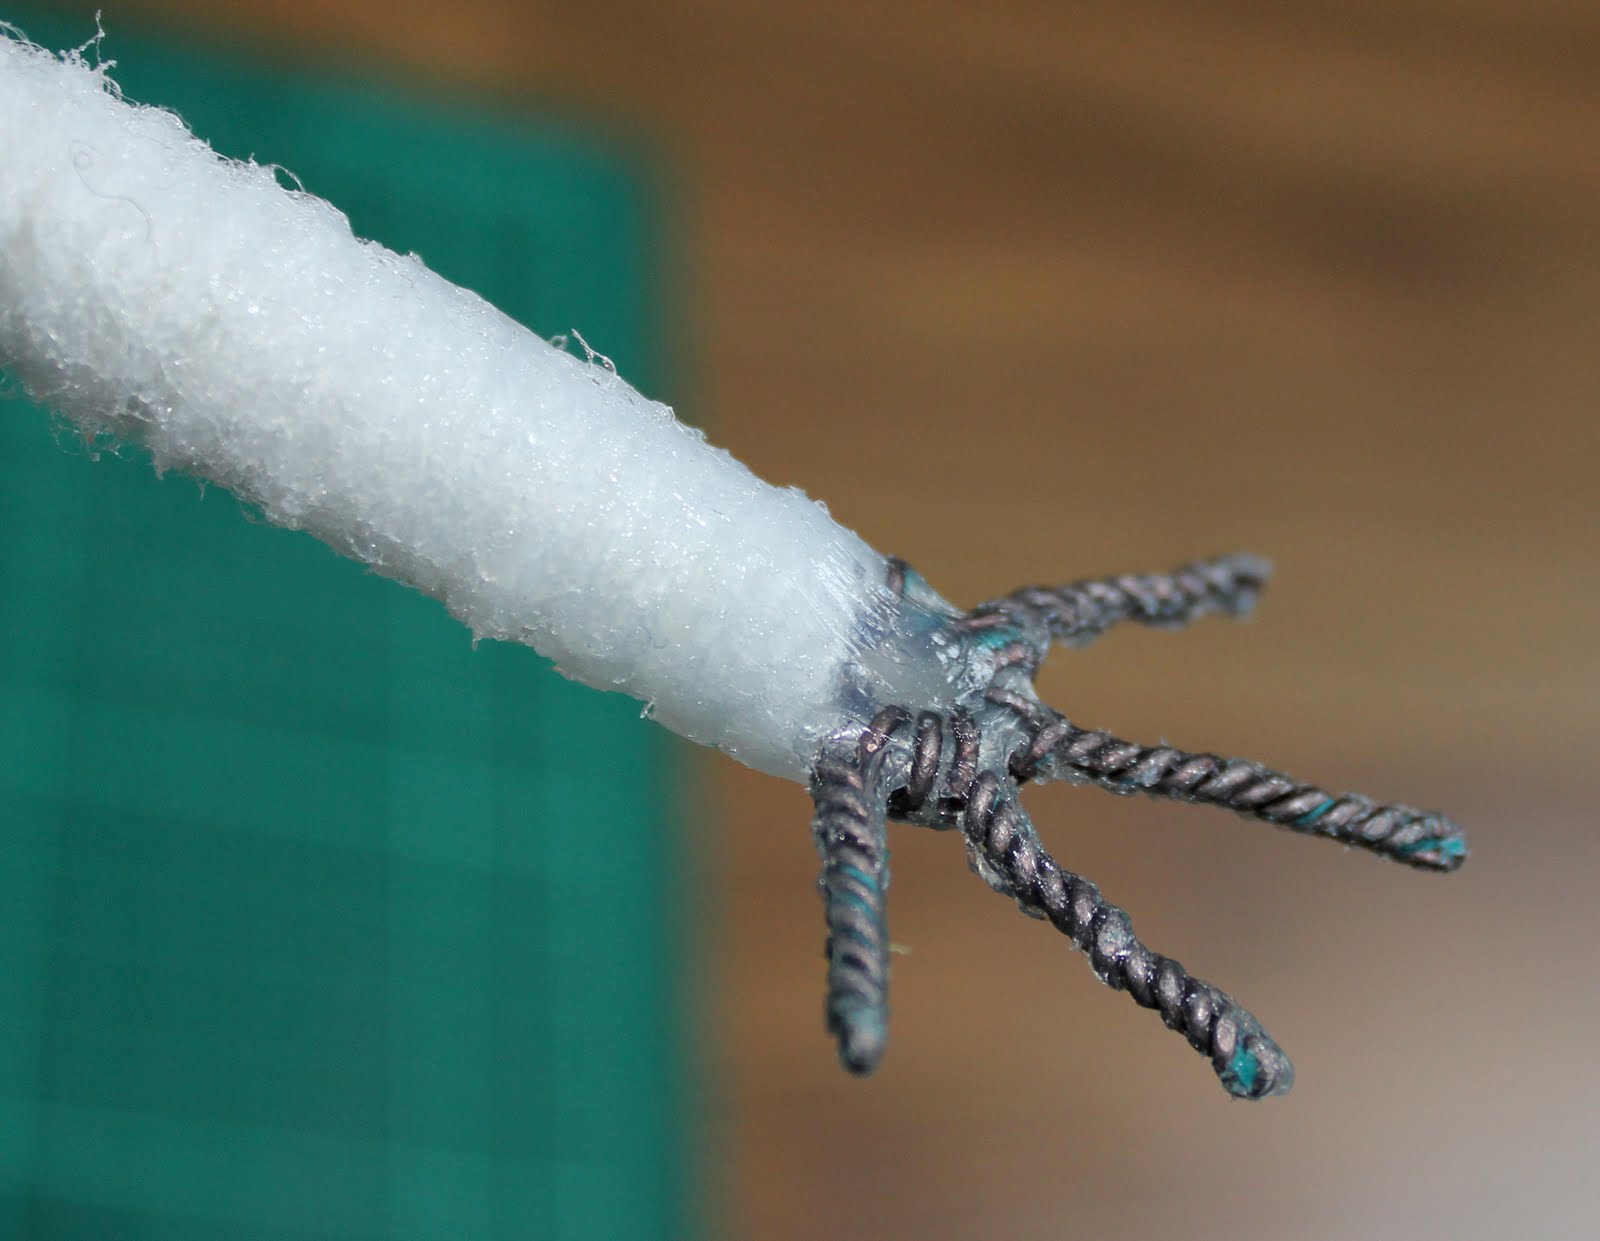
I decided to have a go at using the silicone solution I'd used to patch up the sailor boys hands, which was a mixture of clear bathroom silicone, white spirit to thin it down and oil paint to colour it. I started by filling the hole in the middle of the hand with some silicone and brushing some over the fingers to try and fill some of the gaps in the wire...
Once this had dried I mixed up the solution with the oil paint...

This was really difficult to work with, as you brush it on it picks up on any little bits and leaves a really messy finish. Brushing on a layer at a time was talking forever, and when I would put a thick layer on to try and fill in the gaps between the twisted wire on the fingers, once it had dried it would shrink a little so still looked messy. This wasn't how I wanted the hands to look, I was hoping for a much neater finish and it was taking forever, so I decided to abandon this idea...

Luckily my lovely friend Alex had recently moved house and during the move came across some liquid latex which she kindly donated to me! I forgot I had it but thought that it would be worth a shot and it's something I had used before so I had a better idea of the problems I might encounter. I stripped off the silicone from the fingers, leaving the silicone in the middle of the hand to plug the hole in the wire, and started dipping the hands in the latex. Straight away I had a much better finish. When I made the granny model I wrapped the fingers to try and smooth them out so that I could get a smooth finish, but this made them difficult to bend. This time there was nothing on the wire, but the latex fills the gaps easily and builds up quickly, it can be dried with a hairdryer to the point where it's ready to be dipped again in a few minutes making it a much quicker process too.
Once the hand was starting to get built up I waited until the latex had dried thoroughly and then painted the hands with acrylic paint. Once the paint was dry I dipped the hands again a few more times in latex to seal the paint...

I'm a lot happier with this finish than I was with the silicone. I think this is about as good as the hands could get without managing to make a great mould and casting them in silicone... which didn't work so well the last time I tried!
So that's the bodies up to date, next the heads...
To create the lion masks on the two main characters I built the shape up bit by bit. Having already created the shape around the face of the character I added to this creating the lower part of the face; the mouth and below the nose, then put it in the oven to harden...

Once cooled I started to add to the top part of the lion head, creating the length of the nose and the brow...

The band were ready to paint. I first painted them with acrylic paint but the finish was awful! So, annoyingly, I had to peel it all off and start again, it was difficult to remove in some corners though which were left a little messy looking. I started again using a very watered down acrylic paint and built it up in about 7 or 8 layers, allowing it to dry between each coat...

I painted the faces of the two main characters the same way and painted the lion masks using a very watered down acrylic paint and again building it up very slowly layer by layer, and painted the hair on the bands models...

Once all the paint was dry I started to add some detail. For the lions masks I added some shading in a darker tone to the arches of the brows, painted on a brown lip line around the mouths and painted in the nose etc. For the band I painted the hair a flat colour and then dry brushed over it using a lighter tone.
Next step will be to paint some patterns onto the lion masks and add the eyes and then start glueing on the mane, add some rosy cheeks to the girl character, and possibly make some teeth for the lion mouths to glue on. I also want to paint more detail onto the bands hair, particularly the one on the right as there wasn't enough texture for the dry brushing. There are a few bits that need tidied up too around the hairlines and the mouths of the lion masks, just to give them a tidier finish...

I've also started cutting out the patterns for the trousers for the 4 male characters and they SHOULD be pretty straight forward, it's the shirts etc that will cause the issues. Also a change in the way I've built the models means that I can't have the female in a dress now as her arms and legs will need to be covered so I need to come up with a new design for her outfit :( ho hum, I'm sure I'll come up with something!


